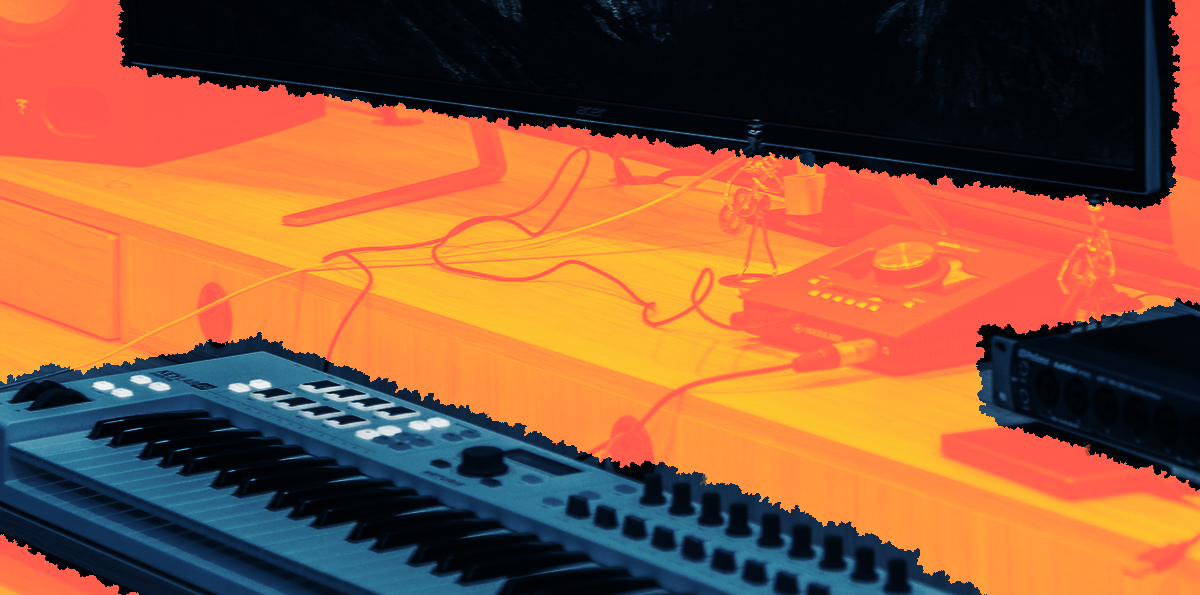
Whether you’re laying down demos, producing full tracks, or experimenting with new sounds, a well-organized and acoustically treated recording space can make all the difference. The good news? You don’t need a massive budget or a professional-grade studio when you’re getting started. Here’s some tips on setting up a recording space that works for your budget and needs.
1. How Much Space Do You Need?
The amount of space you’ll need depends on what you’re recording and your workflow. For vocal recording or digital production, even a small bedroom or corner can work. However, if you need to record large instruments like drums, or if you’re working with multiple musicians, you’ll want a larger space with some flexibility for movement and mic placement.
Pro Tip: Choose a quiet space away from noisy appliances, street traffic, or shared walls. A well-insulated area will reduce interruptions and improve recording quality.
2. The Essentials – What Gear You’ll Need to Build Your Studio
You don’t need to break the bank to build a functional studio. Focus on getting the essentials first, and upgrade as your skills and projects grow. Here’s the essentials to get started:
- Computer: A computer with at least 16GB of RAM and a fast SSD is critical for smooth recording and editing. Either Mac or PC will work—just make sure your chosen DAW (Digital Audio Workstation) is compatible with your machine.
- Audio Interface: A 2-channel interface is ideal for beginners and versatile enough for most recording needs.
- Microphones: Condenser mics capture a wider range of frequencies and work best in sound treated environments or for recording instruments. Dynamic mics focus on the sounds directly in front of it, making it a great option for vocalists. Choose whichever is best for your recording needs!
- Studio Monitors: Flat-response monitors provide accurate sound for mixing.
- Headphones: We recommend using closed-back headphones for tracking and open-back headphones for mixing.
- Cables and Stands: Don’t forget XLR cables and sturdy mic stands!
Budget Range: A basic setup can cost $500–$1,500. Start small and expand as your needs grow.
3. Soundproofing vs. Acoustic Sound Treatment
Let’s clear up a common misconception: soundproofing and acoustic treatment are not the same thing.
- Soundproofing: This involves blocking external noise and preventing sound from escaping. While it’s great for busy neighborhoods, it can be expensive and complex (think dense walls, sealed doors, and heavy-duty materials).
- Acoustic Treatment: This is what most home studios need. It focuses on controlling reflections, echoes, and frequency imbalances within your space.
Where to Place Acoustic Panels:
- Install panels at the first reflection points—these are the walls where sound from your monitors bounces toward your ears.
- Add bass traps in the corners to manage low frequencies, which tend to build up in tight spaces.
Pro Tip: If you’re on a budget, thick curtains, rugs, and bookshelves filled with unevenly stacked books can help absorb sound.
4. How to Organize Your Recording Space
Efficiency and comfort are key to turning your studio into an efficient and creative environment.
- Studio Monitors: Position your monitors at ear level at an equal distance and angle from your listening position. This ensures balanced stereo imaging.
- Desk Layout: Keep your space clean and organized. Your frequently used gear, like your audio interface, MIDI keyboard, and mouse, should be within easy reach.
- Cable Management: Use velcro ties, cable sleeves, and labeled power strips to keep cables organized and prevent tangles or interference.
- Lighting: Don’t underestimate the creative power of good lighting. Consider adjustable LEDs or desk lamps for a warm and inspiring vibe.
Pro Tip: A comfortable chair with good back support is an underrated but essential part of your studio. Long sessions can take a toll if you’re not sitting comfortably.
5. Avoid These Common Mistakes in Your Recording Space Setup
Even experienced musicians can make these mistakes when setting up a recording space. Avoid them to save yourself time, money, and frustration:
- Skipping Room Treatment: Even the most expensive monitors will sound bad in an untreated room.
- Overloading on Gear: Start with what you need, not what looks cool. Too much unused gear can overwhelm your space.
- Improper Monitor Placement: Monitors placed against a wall or at the wrong angle will distort your perception of the mix.
- Neglecting Power Needs: Use surge protectors and consider the wattage your gear requires to avoid overloading circuits.
6. Tips for Building a Budget-Friendly Recording Space
A great recording space doesn’t require a huge budget. Here’s how to keep costs under control:
- Prioritize: Invest in quality gear that will last rather than chasing the latest trends.
- Buy Used: Many musicians sell high-quality second-hand equipment in excellent condition. Check forums, music stores, and trusted online marketplaces.
- Leverage Free Tools: There are many free or low-cost plugins that work wonders within your DAW.
Final Thoughts
Your recording space is more than just a collection of gear—it’s where your music comes to life. Start with the essentials, stay mindful of your budget, and prioritize acoustic treatment over aesthetics. As you spend time in your studio, you’ll learn what works and what doesn’t, allowing you to refine your setup over time.
Your recording space should reflect your unique creative process. With a little planning and experimentation, you’ll be making music in a space that feels truly your own.

